Squarespace Launch Checklist: 8 Critical Steps
This article started out as a checklist. It then blew up into one of the longer blogs I’ve ever written—that is when I knew this was an important one to share! Even though I design and develop Squarespace websites for a living, it’s easy to miss a step. There are several important tasks I take care of before I launch a live website. This article is my personal Squarespace launch checklist to help you make sure you don’t miss any of these 8 critical steps!
Need help tracking these steps for your client websites? I use an amazing program called Notion. I copy and paste this checklist into every client tracker and tick one step off at a time during the launch and off boarding process. Notion has replaced Google spreadsheets, Trello, and several other applications in my project management process. I am obsessed and have never looked back. Highly recommend!
💡 Pro-Tip: Squarespace is always updating their platform. If you can’t find what you are looking for, hit the slash key / from any page and type in your keyword.
Table of Contents
Squarespace Pre-Launch Checklist
1) Check the mobile design
I find it is most efficient to design the mobile version of a website at the very end. Sometimes when you are editing your Squarespace website, the mobile version will shift. If you design the mobile version too soon, you’ll have to double check both mobile and desktop every time you make an edit!
Pro-Tip: The mobile version of your website isn’t a “small desktop version”. Think of the mobile version like an “app”. It can be an entirely different experience for the user. You may need to change the order in which elements appear, size things differently, or even hide something!
Elements that are separate on the desktop vs mobile layouts:
Page order
Size (use the corners of the bounding box to size things as needed)
Alignment
Elements that will change on both versions:
Text and images (any content)
Section order (you can rearrange the order within one section per device, but not entire sections)
Pro-Tip #2: Always check your website on your live mobile phone. While the mobile designer is great, nothing beats the real thing!
➡︎ Find your mobile editor from the top-right menu on any page!

2) Check all SEO titles, Alt Tags, and URL’s
SEO Settings
You don’t have to fill in every SEO title and description, although you certainly can. However, Squarespace will sometimes assign a strange SEO title to your collection pages. For example, if you use create a second blog and title it “news”, under the SEO title Squarespace may have left it as “Blog 2”.
I usually leave my SEO titles blank unless I need it to be something other than the page title itself. If you have time, I recommend customizing your SEO description box. While Google will automatically generate a blurb for you, the SEO description box is an opportunity to slip in the primary keyword(s) you want to rank for.
Find this by clicking the three dots on any page, choose “settings” and then “SEO” from the side menu.

Alt Tags
Alt tags are image descriptions. Most images on your Squarespace website have an area where you can enter an “image alt tag”. Alt tags are used for screen readers, but they also help Google identify what your images are. This is a great place to slip in a few keywords too!
Pro-Tip: Keep your image alt tags descriptive, but avoid using words such as “image of”. You can enter alt tags as you build your site, but every time you upload a new image SQSP will erase the alt tag and you’ll need to put a new one in. Therefore, I usually do this at the very end of a site build.
If you want some help with the alt tag and SEO steps, I recommend SEO Space, an SEO plugin specifically for Squarespace. It can audit your site, provide SEO suggestions (including missing SEO descriptions and alt tags), tell you where you can improve your SEO, and help you find the right keywords.

URL’s
You’ll also want to double check your URL’s. They should match your page title unless you duplicated a page. Main pages should have clean and short URL’s where blog posts can have longer URL’s (often matching the page title which should have your top keyword in it).
➡︎ Find this by clicking “…” from any page/post then “settings” and scroll down under “content”.

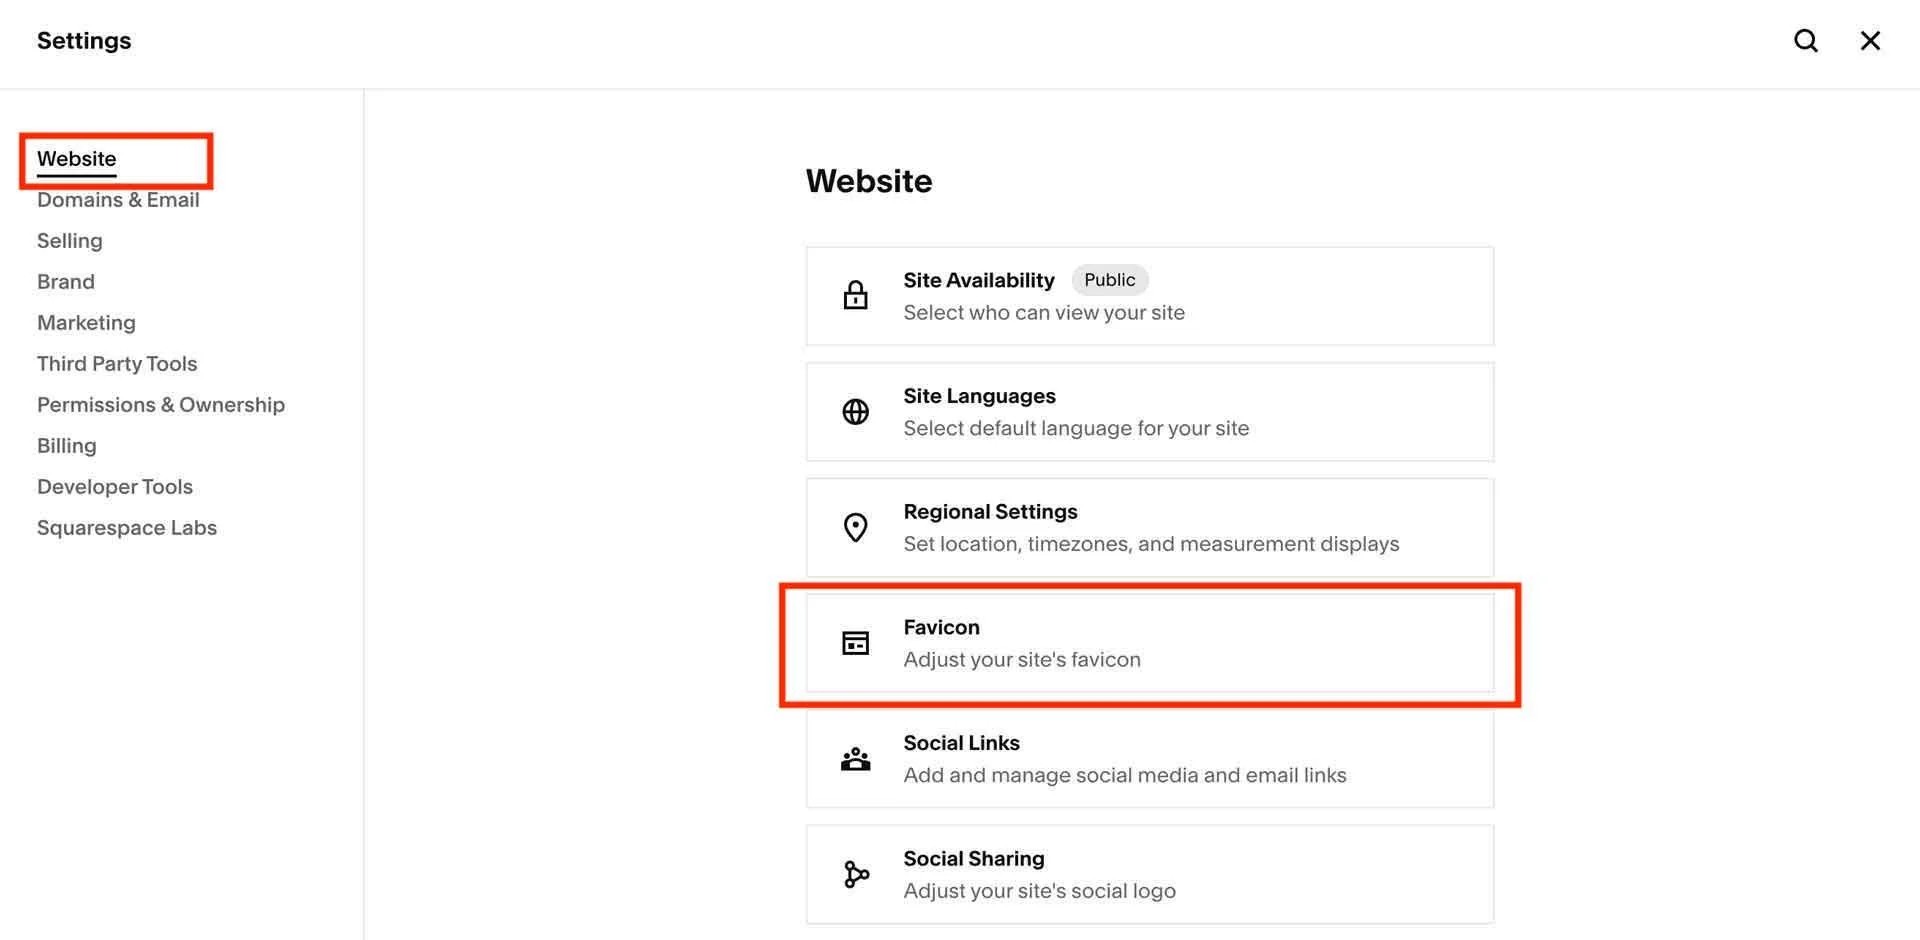
3) Add favicon and global social media thumbnail
Favicon
No one wants that sad little “grey box” as your favicon. Under “Settings” you will find a place to upload a favicon. This tiny little image (icon) shows up in the top of your browser as well as when people bookmark your website. It’s worth branding this!
Pro-Tip: Use your logo, or if you don’t have a logo, you can download an icon from Google Icons. Be careful of the size (there is a size limit on the file). You may need to clear your caches to see the updated favicon.
➡︎ Find this by clicking Settings > Website > Favicon
Social media thumbnail
This is usually missed! When you share your website on social media, it will automatically use the image of your logo if you haven’t specified a social media thumbnail. The issue with this is most logo images are square and/or small, so the image will get distorted in the link!
You’ll want to upload an image that is around 1920 by 630 pixels (horizontal orientation). I usually take a company logo and format it in this size so that the logo fits perfectly in the middle. However, you can also use an image.
Pro-Tip: you can set a specific social media thumbnail per page instead! I usually set this globally on all pages via Settings > Social Media Thumbnail, but you can also go to the three dots on your induvial page/collection and choose “social media thumbnail” there to get specific.
➡︎ Find this by clicking Settings > Website > Social Sharing

4) Create redirect list (if coming from an old site)
Squarespace provides a section in your website called URL mappings which is their URL redirection service. It allows you to redirect any url on your website to another one.
If you already have a live website and are building a new one, this step is a must! There will be some URL’s you can keep the same (such as /about), but in most cases there will be a ton of pages that either aren’t transferred to your site, or are built using a new URL slug.
I like to create a list of URL redirects before I turn on the new website. Otherwise, you might turn off the old site before you get a chance to grab those links. I go through each page and look for pages that no longer “exist” and find the best page to redirect them too.
This process lets Google know you have permanently deleted that page are using a new one. Plus, if someone clicks on the old link (from Google or from a bookmarked page), they won’t get that pesky 404 error!
Pro-Tip: You can use redirects for a current website too. If you decide to discontinue a live page on your current website, be sure to always redirect it to something else. You can also use the URL Mapping feature to create “short links”. A short link would be directing a long blog url to something simple such as /sign-up.
5) Save all sections
I like to go through and save every single section on my website. This may seem tedious, but it goes by quickly. This provides a backup of the website. If a client messes up a section, the original is saved in the “saved sections” library!
Just scan each page and click that lovely little “heart” icon for every section on your website. You’ll thank me later!

6) Screenshots
This tip is mostly for designers, not DIY enthusiasts. Although it’s not a bad idea to have a visual backup for a DIY site either! There are several browser extensions that allow you to take full webpage screenshots. I’ve been using FireShot, but I know there are some other favorites within the Squarespace community.
7) Customize the 404 Error Page
This one is optional, but it does add a nice touch. If you go to Pages and scroll to the very bottom of all of your pages you will see “System Pages”. Here you can choose what page you want to display for your 404 page.
Keep in mind you need to “create a blank page” and design your 404 page. Then you will be able to assign it.
Pro-Tip: I like to include a link back to the homepage and a search bar to give the user something to do when they get here. They might be frustrated they didn’t find what they were looking for, so give them some advice!

8) Customize your form’s Thank You message
If you send yourself a test-message from your forms (which I highly recommend before you launch), you’ll see the submission message leaves a lot to be desired. It is short and small! Keep in mind this customization needs to happen individually on each form on your website (if you have more then one).
You can use the built-in editor to write your message, add bold/italic, and make the font bigger. Or, you can use a little HTML to style your message too. At minimum, I do recommend a little adjustment before you go live!
Pro-Tip for Designers: If you set up forms for you client, be sure to change your email to theirs! Squarespace automatically makes the admin (who is doing the edits) the recipient of those form submissions.
Squarespace Launch Checklist
1) Choose a hosting plan
Now that you’ve taken care of all your pre-launch items, and double checked the site for errors, you are ready to go live! You’ll want to log into your website and at the very bottom there will be a note about how long your trial period has left. Right next to that note is an “upgrade” button. Click on it to begging choosing a hosting plan.
Most DIY websites can use the Personal Plan, unless you plan on using their additional marketing features (such as the announcement bar).
You need the business plan to use the code injection, code blocks, and to sell products or take donations (the Business plan takes an additional 3% transaction fee).
The Basic Commerce plan is similar to the business plan, but there is a 0% transition fee from Squarespace and you can take advantage of their advanced e-commerce features (a must if you are running an e-commerce store).
Lately, Commerce Advanced allows you to sell subscriptions and comes with additional e-commerce features.
Compare Squarespace pricing plans ⟶
2) Set up your domain
Once you put in your information, credit card, and set up hosting, you are ready to turn your site “on”. The next step is choosing a domain. Go to Settings > Domains to get started. You can choose to use a “domain you own” or choose a new one.
If you don’t already have a domain, this process is easy. You simply type in the domain you want, put in your information, and get started with a free domain for the first year!
If you already have a domain you can map it or transfer it. Mapping a domain (or pointing a domain) leaves it registered with your current provider (aka something like GoDaddy).
Here is when you should point your domain vs transfer it:
Point your domain if….
You have several domains registered with your current provider
You have email set up with your current provider and don’t want to deal with the tech setup or downtime of transferring that
You need your website up fast
You just registered your new domain in the last three months (they won’t transfer it until a certain time period has passed)
Transfer your domain if…
You only have one domain and you want your domain and hosting to be in one platform (and paid all at once—this simplifies things)
You have domain and email through your current provider but you want it all through Squarespace (to keep things simple and in one place)
Learn how to transfer your domain to Squaresapce ⟶
Learn how to point your domain to Squarespace ⟶
Here is some extra information on transferring your domain from GoDaddy ⟶
2) Set up your Email
This is often a missed step (until it’s too late), especially for DIY builders and new designers. If you have a custom email, for example info@mydomain.com, this will need to be pointed (connected) or transferred. Whoever owns your domain also needs to own your email, or be connected to it.
There are several ways to do this, depending on where your domain and email are registered.
Squarespace uses Google Workspace for custom domains, so if you are already on Google Workspace, you may not need to do anything. Just continue paying your Google Workspace account to host your custom email.
If you are using something such as Microsoft to host your email, you can leave it where it’s at and continue paying for your service there. You will likely need to update the MX records. This will likely be easier then transferring it.
If you are using your domain provider to host your email too, you will likely want to connect or transfer the domain and email together. If you have several domains registered, or don’t want to go through the hassle, you can point (connect) your domain via DNS and then connect your email via MX records. However, if you transfer your domain to Squarespace, you’ll likely want to transfer your email too.
4) Turn your site on
Your moment has arrived! Now that you have paid for hosting and chosen a domain (or transferred or pointed a current one), you can make your website live.
If you are transferring your domain or pointing it over, I like to wait until that process is complete before turning my site on. It takes Google about 4-7 days to re-index your website if it was previously on the web (if this is a re-design) and it can take Google up to 6 months to index a brand new site (with a new domain).
To turn your site on, go to Settings > Website > Availability and choose “public”. Learn more about publishing or hiding your site ⟶
Your website is now live!
5) Add redirects
Now that your site is live, go ahead and add in that list of redirects you created earlier (if you have one). Type in an old url and test that it redirects to the new one! Learn more about URL mappings ⟶
6) Setup Google Analytics & Search Console
I like to set up Google Analytics and Search Console with every website. If you already have a GA account you need to find the tracking URL and paste that into Settings > 3rd Party Tools. Google Analytics provides additional tracking tools, however you can just rely on the built-in analytics for basic information.
If you don’t have a GA account, you can set up a free account. I recommend doing this first so that it can sync with your Search Console account.
Search Console is a free tracking tool by Google that tracks website performance and search keywords. The good news is this service is really easy to set up! You just go to Analytics > Keywords and click the “set up” button. It will prompt you to log into your Google account and do the rest for you.
This process is a little more in-depth then mentioned here, but this should give you a good start.
Learn more about using Google Analytics with Squarespace ⟶
Learn more about setting up Search Console with Squarespace ⟶
7) Turn off old site, if needed
Now, you can turn off your old site. If you had a website that was live before this, you’ll want to turn it off and disconnect your payment method for previous hosting. If it was a WordPress site, have your host “turn it off” and discontinue hosting with them. If it was Wix, make the site private. If it was Squarespace, put the website into “private” mode under “site availability” to hide it from search engines.
If you are launching a new website, you don’t need to worry about this step. Go into the world and celebrate your new website!
8) Check for broken links
You think you got them all, but did you, really? Sometimes during the development process you might change a page URL. Or, you might type an external URL in wrong. Why take the chance? Broken links can affect user experience and affect your ranking on Google. You can use a free broken link checker such as the Ahrefs free broken link checker to scan your site. When your site is live, just put your URL in there and see if you missed anything!
If your website has been live for a while and you update a URL, make sure to also redirect it using the URL Mappings feature in Squarespace. The broken link checker can find internal links that no longer work, but you’ll want to make sure Google understands this is a permanent change via a 301 redirect.
Stuck and need help?
If you are looking to hire a Squarespace Expert, reach out! We will talk about your needs and can schedule a short block of time to directly address any issues you are running into.